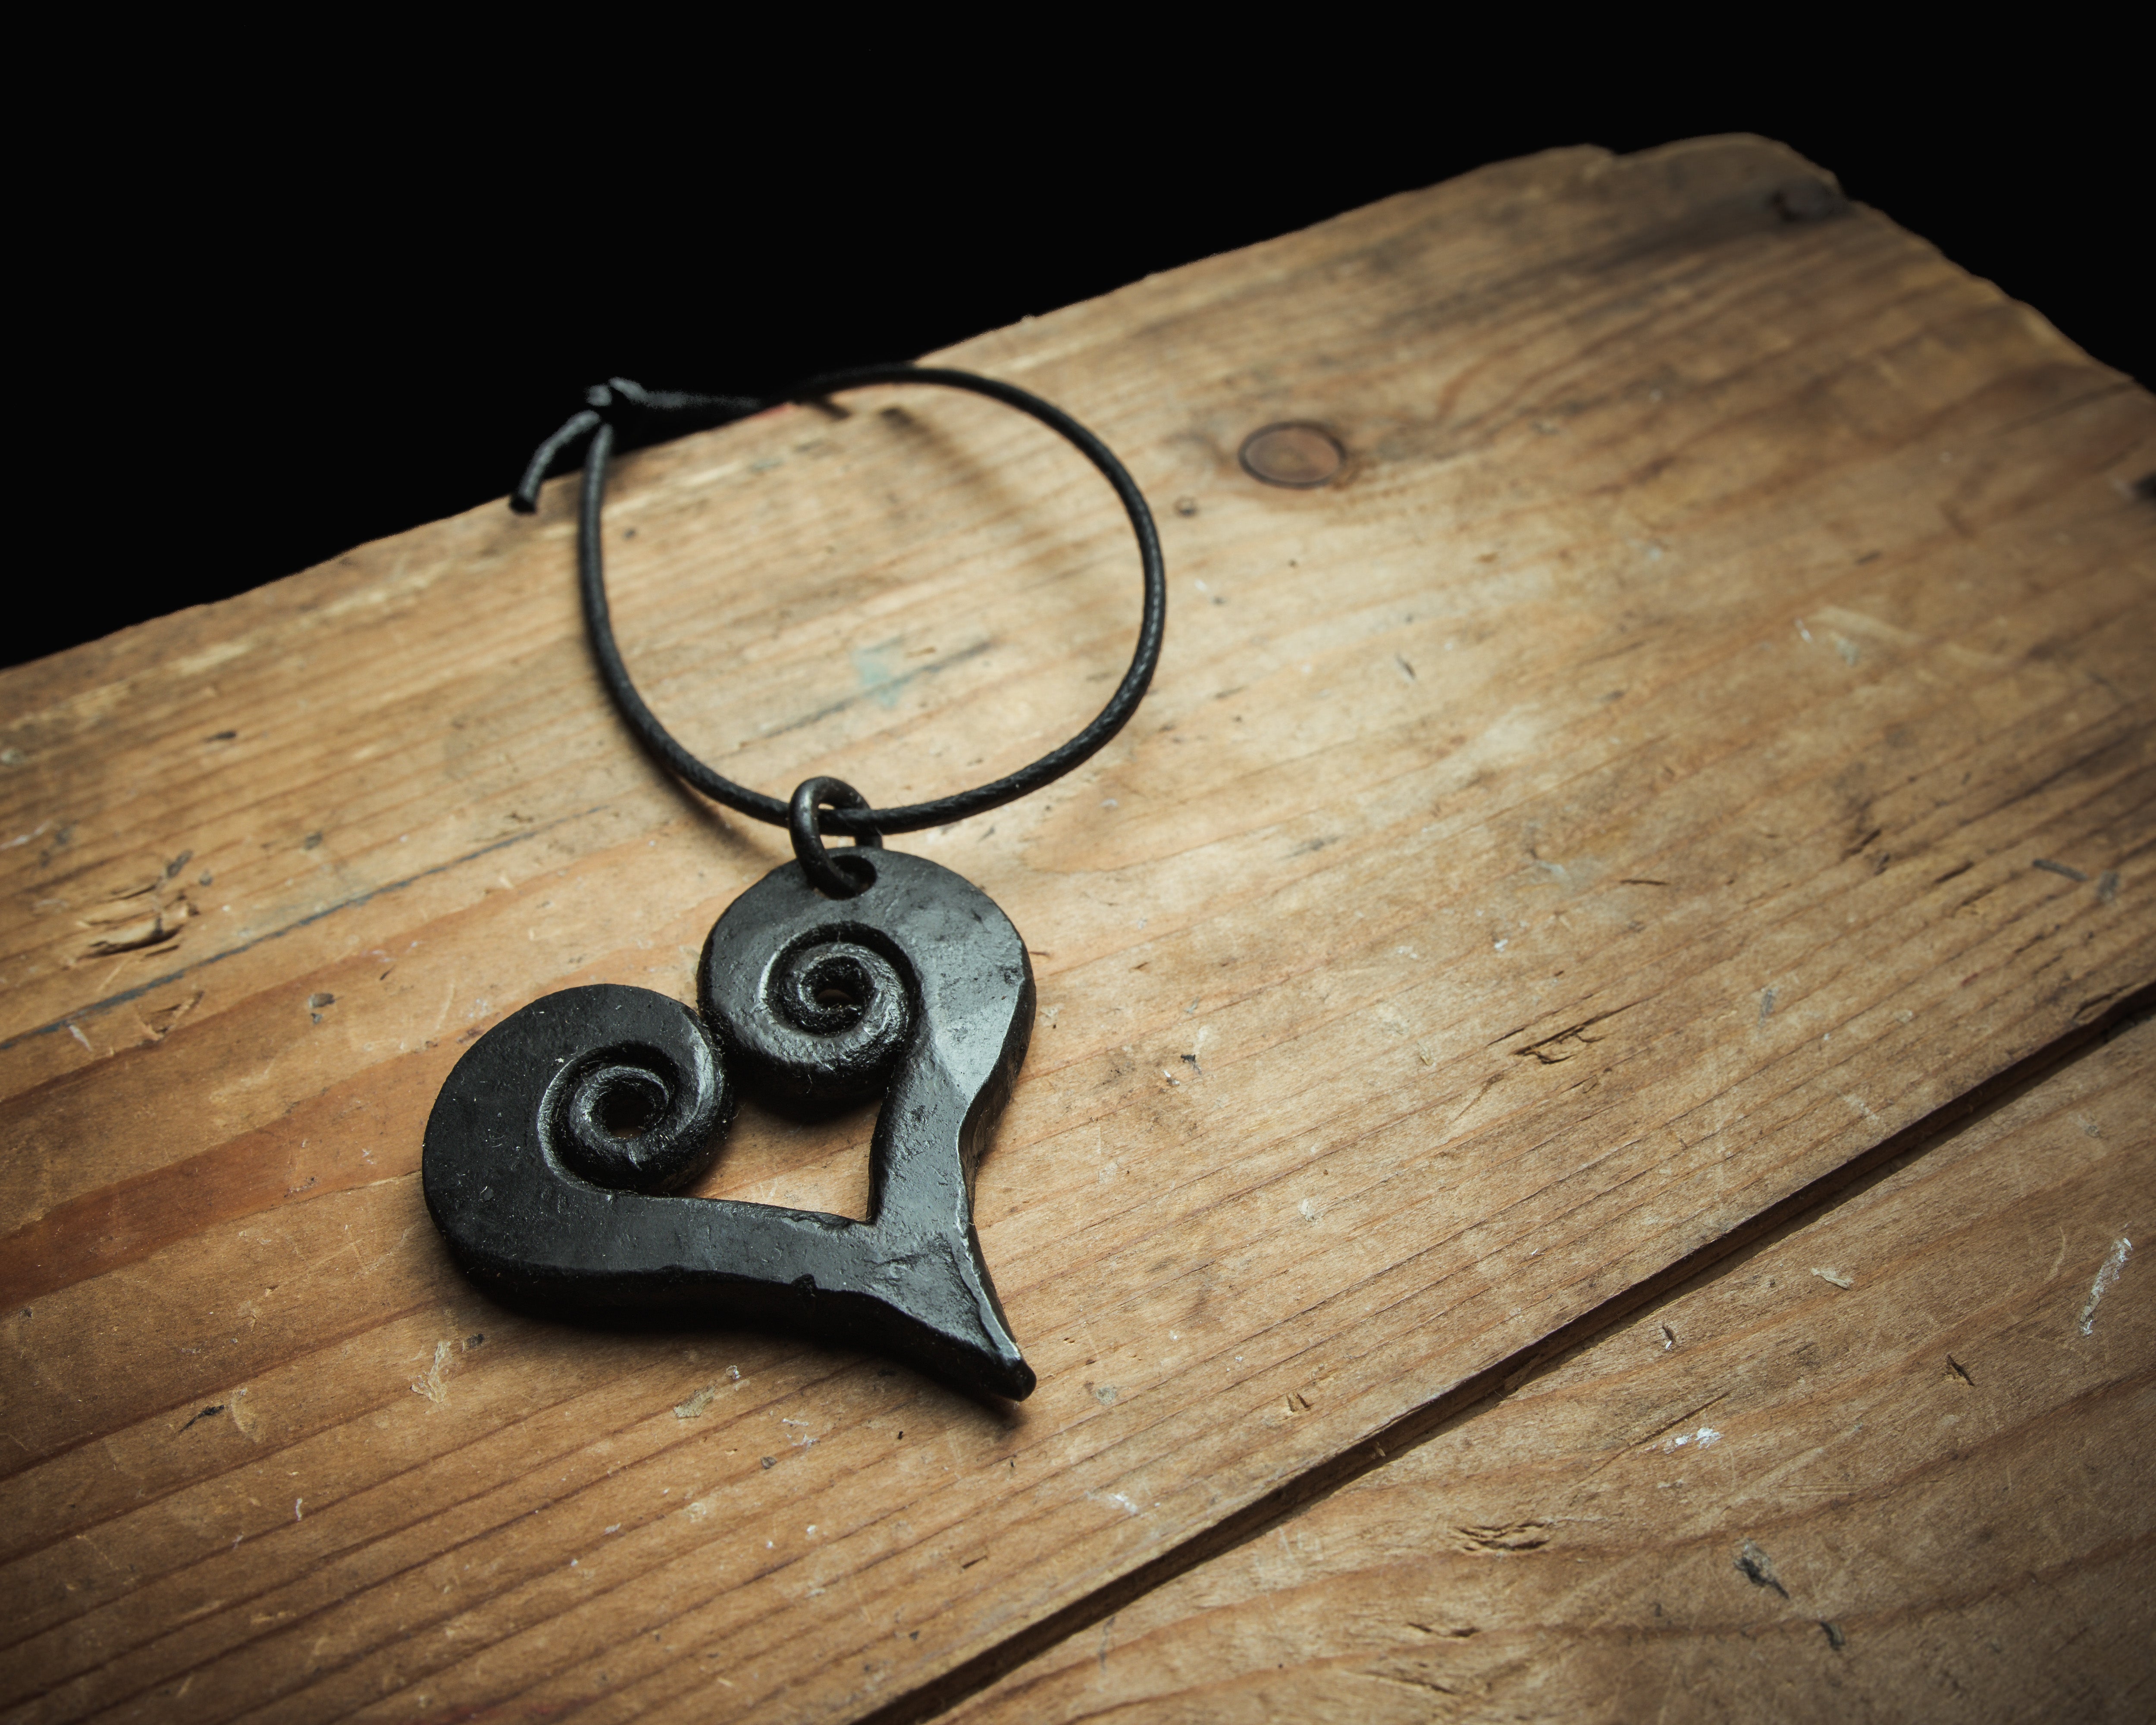
Welcome to our blacksmithing journey. Today, we're about to forge a heart pendant. Here's how we're going to do it:
Step 1: Gather Your Materials
For this project, I began with a 6-millimeter round bar that measures 10 cm long. This size and length offer enough material to achieve the desired pendant shape.
Step 2: Initial Shaping
Throw the bar into the fire. Once it starts to glow, pull it out, and it's time to shape the bar. We're aiming to create two tapered ends. This process not only sharpens your eye but also is the first step towards forging the heart pendant.
Step 3: A Tip for Symmetry
To achieve a symmetrical scroll, the first tip is to ensure both tapers look equal. However, to give the pendant an interesting twist, I prefer one side slightly larger than the other. This variance makes the pendant hang better and look more visually appealing when worn.
Step 4: Scrolling
Next, I work on scrolling the tapers. An important point to remember is to make the beginning of the scroll tight for easier navigation and symmetry. To double-check the measurements are correct, I make sure that the distance between the two scrolls measures 3 cm, ensuring that it's neither too short nor too long.
Step 5: Turning it into a Heart
Now comes the most crucial part of the process, turning the scrolls into a heart. Using a fuller tool, make a mark in the middle of the two scrolls to indicate where to bend the pendant. This mark weakens the metal slightly, allowing it to bend more easily where we want it to.
Start bending your piece over the horn. Because of the earlier mark, it will naturally bend where you need it to, creating the top half of your heart shape. Then forge a point at the bottom to fully render the heart shape.
Step 6: Smoothing and Shaping
This step is all about making the point smooth and symmetrical. It's critical to ensure it isn't too sharp to wear. Flatten the piece out once you have your heart shape to enlarge the scrolls slightly, achieving a certain aesthetic delicacy.
Step 7: Making it Wearable
It's time to convert your forged heart into a wearable pendant by adding a ring. If you're making multiple pendants, drilling would be suggested, but punching the hole would suffice if it's just a few.
I punched a small hole, then attached a 2-millimeter ring through that. And voila! You now have a heart pendant ready to wear or gift.
This is a perfect beginner-level blacksmithing project. It teaches symmetrical scrolling, attentiveness to details, and basic forging all in one. Happy forging!

